
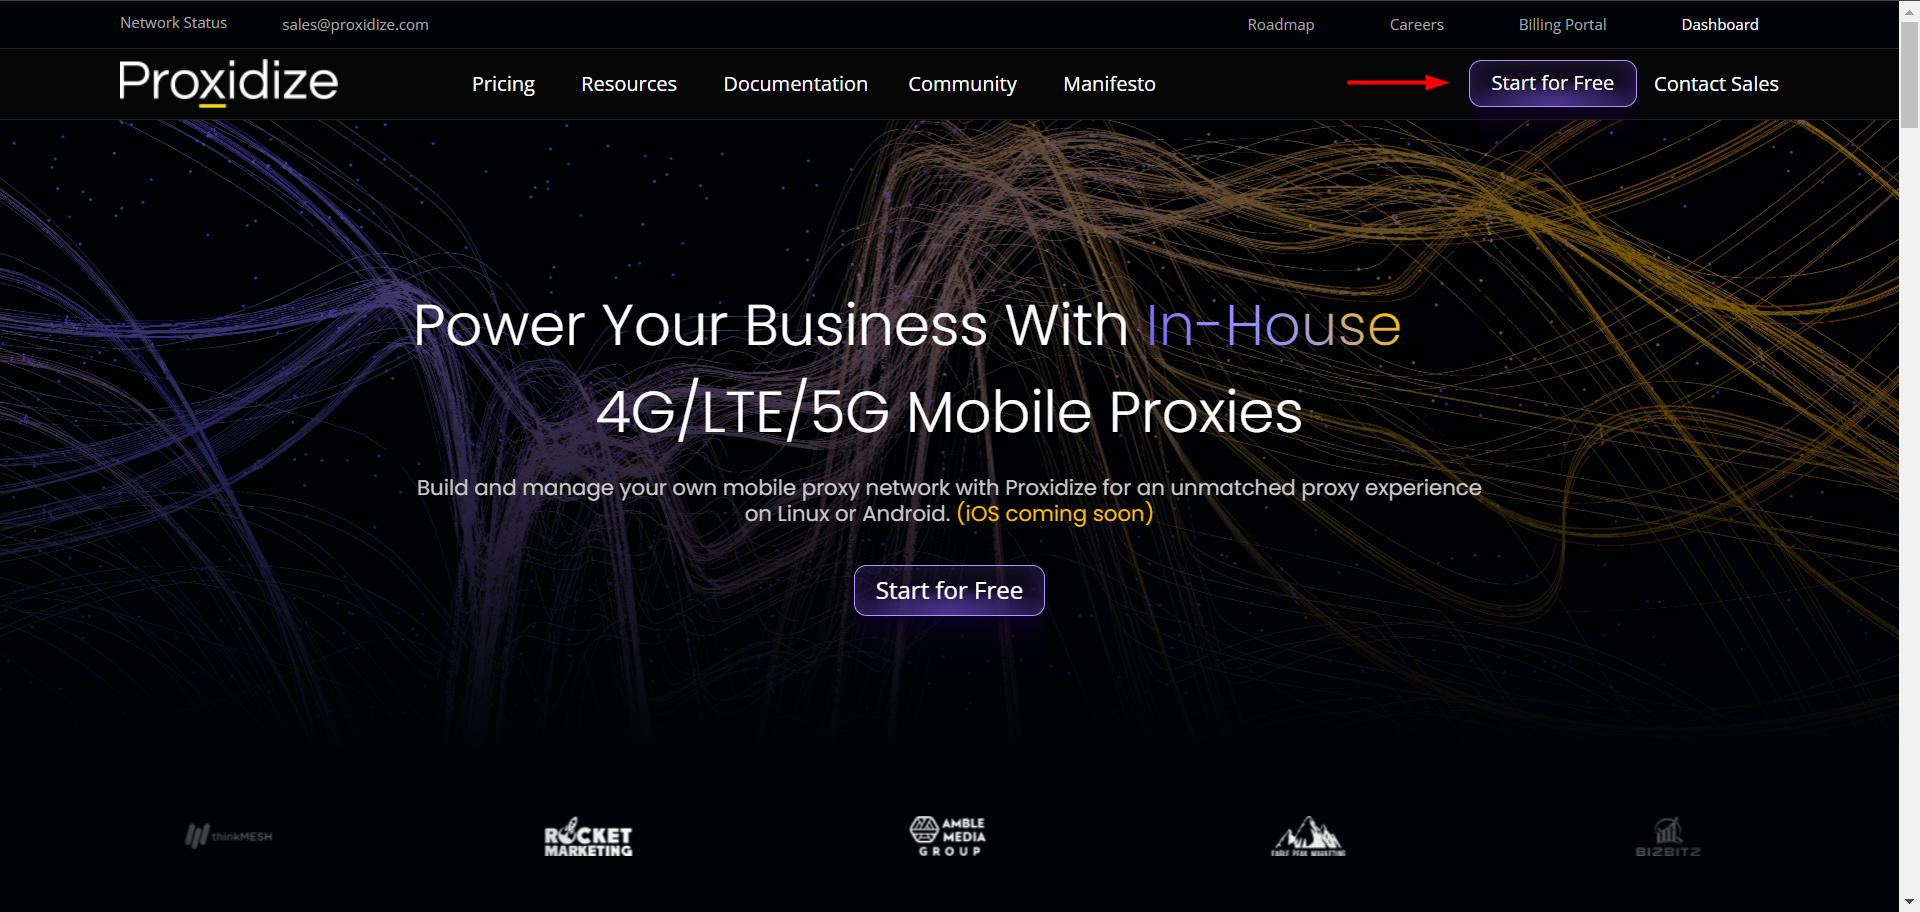
This detailed article explains how to create your Proxidize account. First, visit proxidize.com, where you'll see the "Start for Free" button in the top right corner of your screen. Clicking it will prompt you to log in or sign up if you don't already have a Proxidize account.
If you already have a Proxidize account, enter your email in the textbox shown in the image below, or use one of the available login methods, which are currently:
Continue with Google.
Continue with your Microsoft account.
Continue with Github.
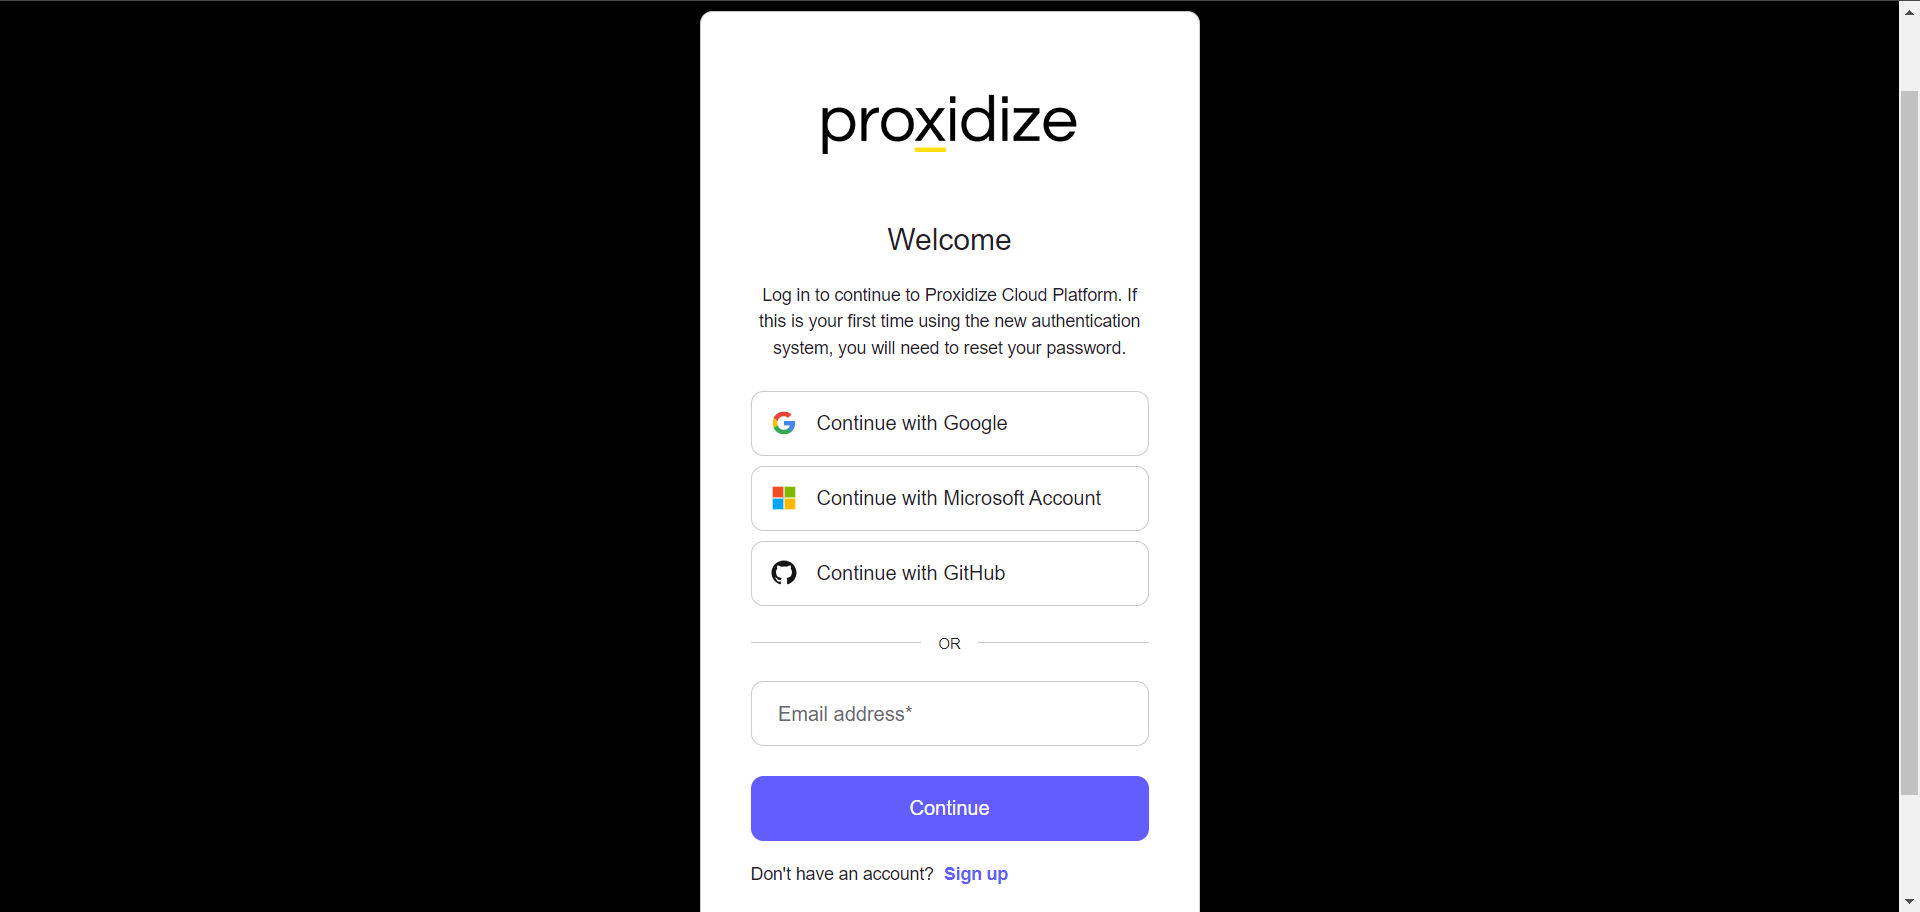
If you don't have a Proxidize account, click "Sign Up" at the bottom of your screen. You'll be prompted to enter your email manually or to sign up using one of the methods detailed above. After selecting your sign-up option, you'll receive a verification code, which, once entered, will take you to the licenses and agreements page.

Once you agree to the privacy policy, terms of service, and EULA, you'll need to complete a form about your proxy usage and use case.
After that, you'll be directed to your Proxidize Cloud dashboard, where a free subscription will be created under your account. You can view and manage your billing and account information by clicking the settings button or your account initials in the top right corner of your screen.
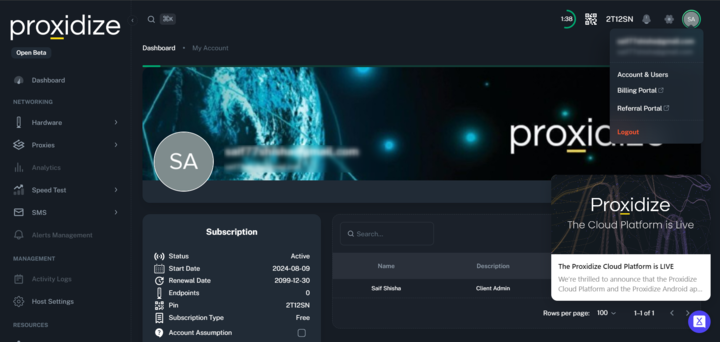
You can now use the Proxidize Cloud dashboard and your mobile proxies!