What Is the Proxidize Linux Agent?
The Proxidize Linux Agent is the software installed on your local Linux server.
It is responsible for:
- Managing the USB modems connected to the server.
- Creating and managing local proxy endpoints.
- Communicating with the Proxidize Cloud Dashboard.
- Providing a local dashboard for troubleshooting and local management.
The Cloud Dashboard at app.proxidize.com is updated automatically by Proxidize. The Linux Agent runs on your own server, so it may need to be updated manually.
Why Keep the Linux Agent Updated?
Linux Agent updates may include:
- Stability improvements.
- Security improvements.
- Bug fixes.
- New features.
- Compatibility improvements for supported hardware.
- Improvements requested by customers.
Keeping the Linux Agent updated helps your Proxy Builder setup stay stable and compatible with the latest Proxidize platform changes.
Before You Start
Make sure you have:
- Access to the Proxidize server terminal.
- The server's Linux user password.
- A stable internet connection on the server.
- Enough free storage on the server.
The update may temporarily restart services or interrupt local dashboard/proxy availability.
If you are not sure whether your server meets the requirements, see Linux Agent: System Requirements & Supported Modems.
Open a Terminal on the Proxidize Server
You can update the Linux Agent from a local terminal or over SSH.
Option 1: Open Terminal Locally
Use this option if you have a monitor, keyboard, and mouse connected to the Proxidize server.
-
Connect a monitor to the server using HDMI.
-
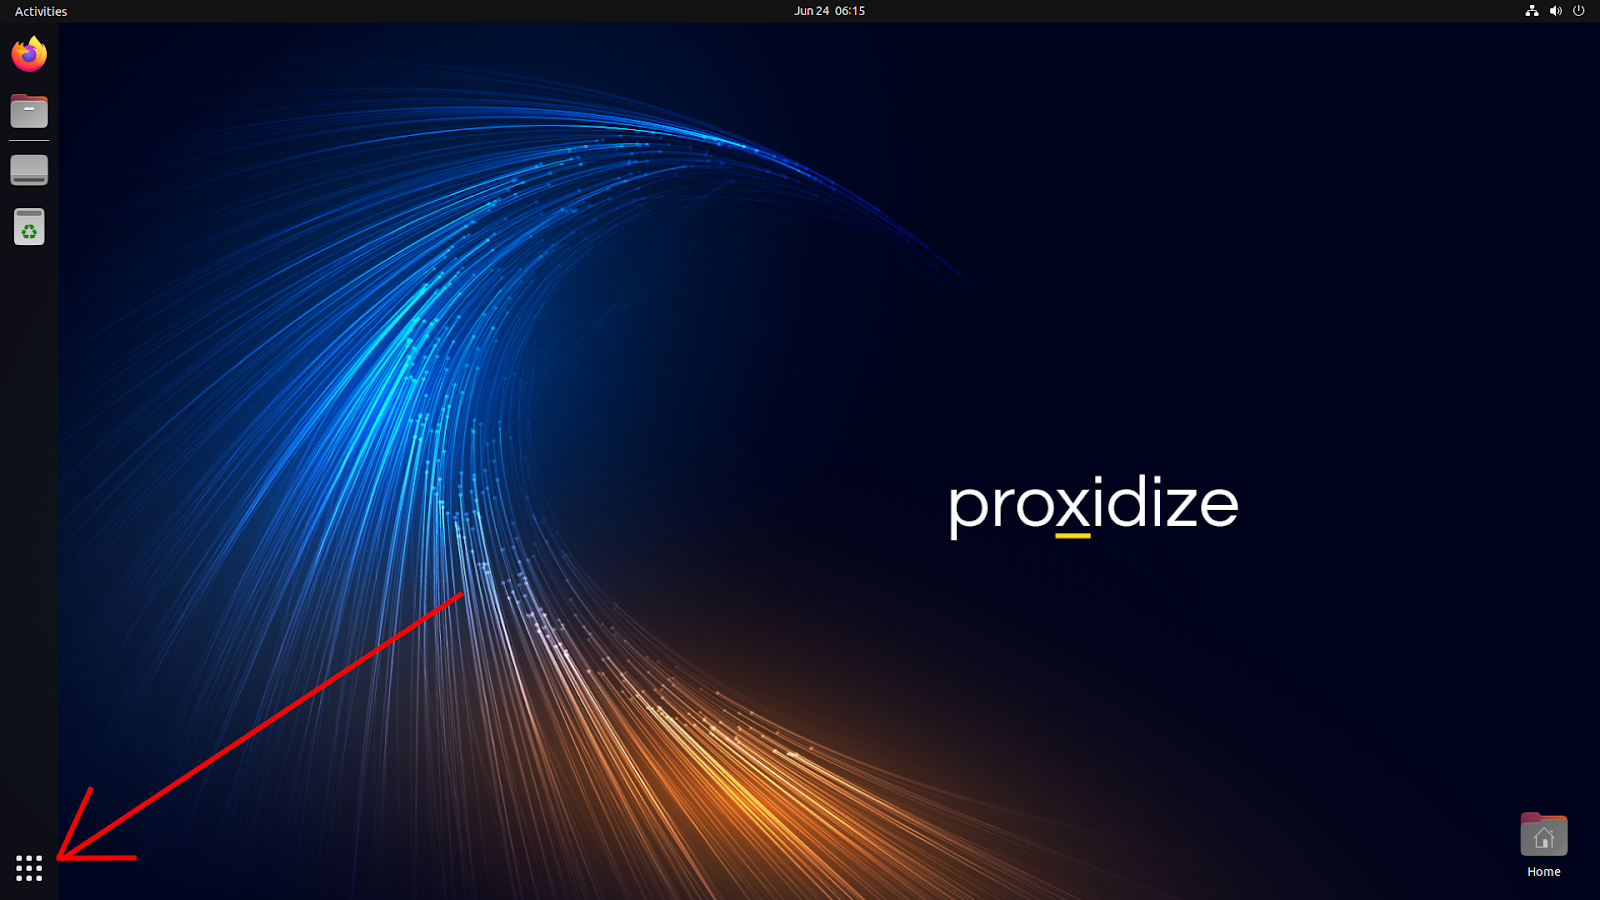
Open the applications menu.
-
Search for Terminal.
-
Open the Terminal app.

Option 2: Connect Over SSH
Use this option if SSH access is enabled and you know the server's local IP address.
From another computer on the same network, open a terminal and connect to the server:
ssh username@server-ip-address
Example:
ssh proxidize@192.168.1.25
Replace username and server-ip-address with the correct Linux username and local IP address for your Proxidize server.
If you are not sure how to find the server IP address, see Understanding Public IPs, Private IPs, and Your Router IP Address.
Check Available Storage
Before updating, check that the server has enough free storage:
df -h
If the disk is full or almost full, free storage before continuing. Low storage can cause updates to fail or services to behave unexpectedly.
Switch to Root User
In the terminal, run:
sudo su
Enter the Linux user password when prompted.
[SCREENSHOT PLACEHOLDER: Terminal showing sudo su and root prompt.]
After switching to root, your terminal prompt may change from $ to #.
Run the Linux Agent Update Command
Run the following command:
curl -fsSL https://pxfile.com/install_cloud | bash
The update process will start automatically. Wait for it to finish.
Do not close the terminal or power off the server while the update is running.
After the Update Completes
When the update is complete, the installer should show the local IP address you can use to access the Linux Agent again.
Open the local dashboard in your browser using the server's local IP address.
Example:
http://192.168.1.25
If your setup uses a different dashboard port or custom access method, use the address configured for your environment.
Confirm the Linux Agent Is Working
After updating:
- Open the local dashboard.
- Confirm the dashboard loads.
- Confirm the host appears online in the Cloud Dashboard.
- Confirm connected modems or endpoints start appearing normally.
- Test a proxy if needed.
Troubleshooting
| Issue | What to Check |
|---|---|
| The update command does not run | Confirm the server has internet access and DNS is working. |
sudo su asks for a password |
Enter the Linux user password for the server account. |
| Permission denied | Confirm your Linux user has sudo permissions. |
| The update fails partway through | Check available storage, internet connection, and rerun the command. |
| The local dashboard does not open after update | Confirm the server IP address, local network connection, and service status. |
| Host does not appear online in Cloud Dashboard | Confirm the server has internet access and wait a few minutes for reconnect. |
| Proxies do not work after update | Confirm modems are online, SIMs have data, and the endpoints are visible in the dashboard. |
Related Articles
- Proxidize Proxy Builder Overview & How It Works
- Linux Agent: System Requirements & Supported Modems
- Linux Agent: Onboarding and Offboarding Hosts
- Ensuring the Best Endpoint Uptime
- Understanding Public IPs, Private IPs, and Your Router IP Address
Need Help?
If you have any questions, concerns, or need further clarification, feel free to reach out to us via live chat or email us directly at support@proxidize.com.