Proxidize Per-Proxy Plans
Proxidize’s Per-Proxy plans are designed for users who need full control over dedicated, SIM-based mobile proxies. Each proxy is directly assigned to your account and comes with customizable settings for location, carrier, rotation, and formatting. You can manage each proxy individually through an intuitive, streamlined dashboard, giving you total visibility and command over your setup.
Whether you’re running long-term campaigns, managing mobile accounts, or offering proxy access to others, this plan gives you everything you need to stay flexible and in control.
Use Cases
-
Web scraping and mobile data collection
-
SEO testing and search engine result tracking
-
Ad verification across cities and carriers
-
Social media and multi-account management
-
E-commerce and retail price monitoring
Core Features Overview
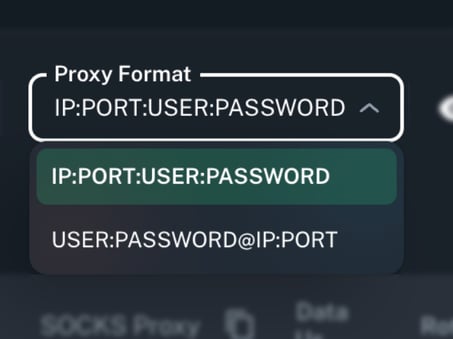
1. Proxy Format Selection
Customize how your proxy access details are displayed and exported.
From the Proxy Format dropdown, you can choose between:
-
Username : password @ hostname : port
-
Hostname : port : username : password
This makes it easy to match your proxies to whatever format your tool or script as no extra reformatting needed.
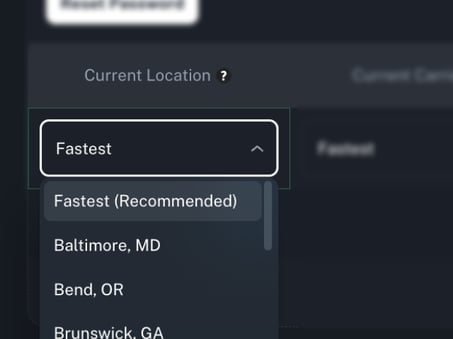
2. Current Location
The Current Location column always reflects the real, physical location of the proxy.
Proxidize gives you granular control over where your proxies operate, with options to choose from major U.S. cities such as Tampa, Louisville, Seattle, Dallas, Austin, Miami, Los Angeles, and more.
Want a hands-off option instead? Simply select “Fastest” to automatically route your proxy through the best performing available location.
Note: When you manually select a location, it will be locked in for future proxy rotations.
If that location becomes unavailable or encounters issues, the proxy may stop functioning. In such cases, you'll need to either manually select a different location or switch back to the “Fastest” option to restore service.
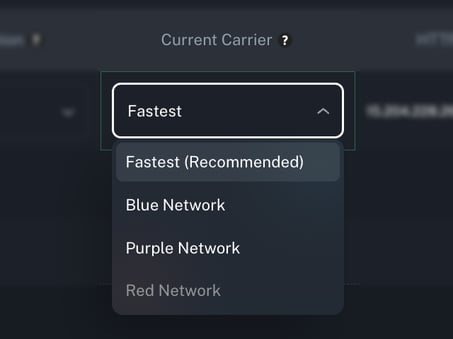
3. Current Carrier Selection
Choose the mobile carrier your proxy operates on:
You can adjust this carrier preference during setup or anytime afterward. It’s perfect for optimizing speed, targeting specific regions, or comparing performance across different mobile networks.
Note: When you select a specific carrier, future proxy rotations will remain tied to it. If that carrier goes offline or experiences connectivity issues, the proxy may stop working.
In that case, you’ll need to manually switch to an alternative carrier or revert to the Fastest option to restore service.
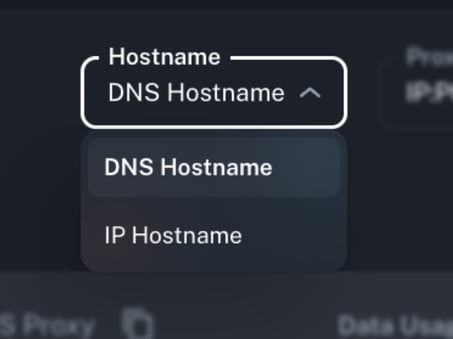
4. Hostname Type Selection
Control how your proxies are resolved:
-
IP Hostname: Direct IP
- DNS Hostname: Dynamic domain
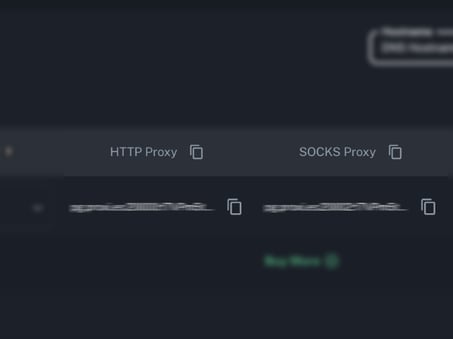
5. HTTP & SOCKS5 Proxy Access
Each proxy includes both HTTP and SOCKS5 support.
For easier readability, the dashboard shows the port numbers, while the full host details are still available behind the scenes. This makes the dashboard cleaner while still giving you everything you need to connect using your preferred protocol.
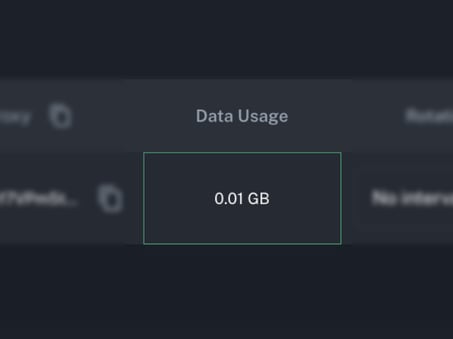
6. Total Data Usage
Easily monitor how much data each proxy consumes with real-time tracking.
The dashboard displays the total data usage per proxy, giving you a clear overview of your consumption across all active proxies.
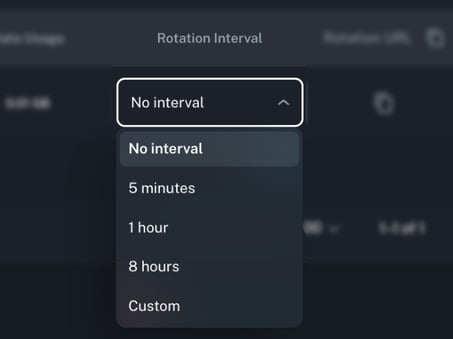
7. Rotation Interval Configuration
Set how often each proxy should rotate its IP, with a minimum rotation interval of 1 minute that you can customize!
-
No Interval
-
Every 5 Minutes
-
Every 1 Hour
-
Every 8 Hours
-
Custom – Choose your own interval in minutes, hours, or days
This flexibility is ideal whether you're running long-term sessions or refreshing IPs regularly.
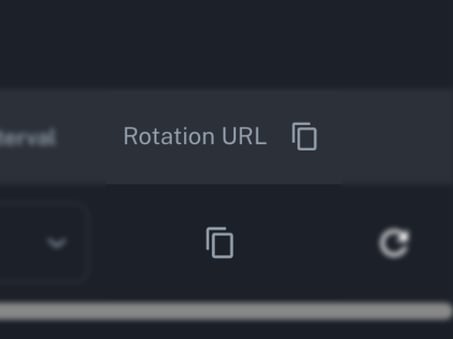
8. Rotation URL (with Copy Button)
Each proxy includes a Rotation URL, which you can call via API or use manually to rotate the IP on demand.
We’ve added a copy-to-clipboard icon next to each URL for quick access, just one click and you’re ready to go.
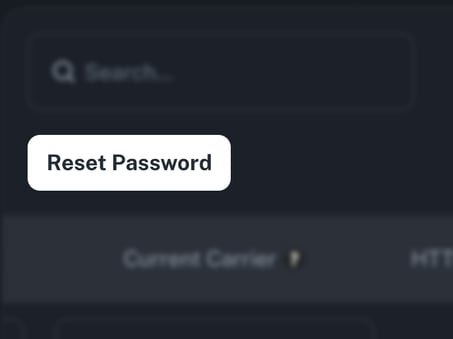
9. Reset Password
Managing your proxy credentials is simple and secure.
You can update the password for all proxies at once directly from the dashboard. With just a click, a new random/custom password will be generated and applied automatically, noting that this feature only accepts letters and numbers
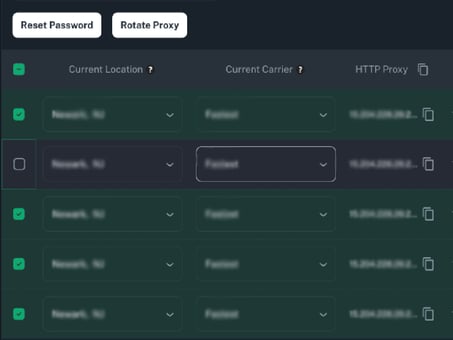
10. Manual Rotation
Need to rotate your proxies instantly? You can do this either individually or in bulk right from your dashboard.
Single Proxy Rotation:
Click the Rotate icon next to any proxy to instantly trigger a new IP address. This is perfect for quick tests or manual IP refreshes; there is no need to wait for the scheduled rotation interval.
Multiple Proxy Rotation:
You can select multiple proxies or even all proxies at once using the checkboxes beside each proxy. Once selected, click Rotate Proxy at the top of the list to rotate them all simultaneously. This is ideal when you want to refresh several proxies in one action.
This gives you full control, whether you need to change one IP or refresh your entire list in seconds.
11. Proxy Tags
You can add tags to your proxies, making it easier to organize, filter, and search through them efficiently.
Simply click on the “Tags” field and start typing to add or create new tags. You can assign up to 20 tags per proxy, and there’s no limit to the total number of tags you can create.
This feature is especially useful for grouping proxies by purpose, location, or any custom category that fits your workflow.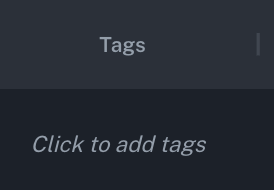
12. Create User
You can create and manage subusers directly from your dashboard. Click "Create User" to add a new team member by entering their first name, last name, and email address. Once added, all subusers will appear in a table where you can edit, remove, or check whether Two-Factor Authentication (2FA) is enabled on their accounts.
This feature makes it easy to organize account access and ensure each subuser’s security settings are properly configured.

13. Speeds
The Speeds column allows you to monitor the real-time performance of each proxy. Speed measurements are automatically updated every 6 hours, giving you an accurate view of the proxy’s current throughput.
To enable this column, open the Columns menu on your dashboard and toggle Speed. Once enabled, you will see the latest measured speed for each proxy, along with the time the value was last updated.

14.Port Mapping
Control how ports are assigned to your proxies using the Port Mapping dropdown in the dashboard toolbar.
Two modes are available:
- Static: Ports are fixed and do not change between sessions.
- Dynamic: Each proxy is assigned a dedicated HTTP and SOCKS port automatically. Ports follow a standardized order, making them easier to scan and validate across your proxy list.
Note: Static port assignment is not available when using IP Whitelist authentication. If your proxies are configured with IP Whitelist, Dynamic is the only supported port mapping mode.

Dynamic Port Ranges
| Protocol | Range | Order |
|---|---|---|
| HTTP | 18000 → 20000 | Descending |
| SOCKS | 20002 → 22002 | Ascending |
With Dynamic mode, every proxy gets its own unique port for both HTTP and SOCKS, no overlap, no ambiguity.
Tip: Dynamic is recommended for most setups. The predictable port ordering makes it straightforward to cross-reference proxies in bulk exports or scripts.
15.Proxy Authentication option
Proxidize PerProxy supports two ways to authenticate your proxy connections:
- User / Pass: The default method. Each proxy is accessed using a username and password. See Reset Password above to manage your credentials.
- IP Whitelist (New): Authenticate using approved public IP addresses instead of a username and password. Ideal for server-based setups where credentials are impractical to manage.
You can switch between both modes directly from the proxy table toolbar.
Setting Up IP Whitelisting
When IP Whitelist is selected, click the IP Allowlist button in the toolbar to open the management modal. From there you can:
- Add a single IP address manually
- Add multiple IP addresses at once
- Use the Add My IP helper to automatically detect and add your current public IP
- Remove or manage existing IP entries
- Track the total number of IPs currently allowed

Once your IPs are added, any request originating from a whitelisted address will be authenticated automatically, no username or password required.
Note: IP Whitelisting authenticates by source IP only. If your public IP changes (e.g. due to a network switch or ISP reassignment), access will stop working until the new IP is added to the allowlist.
Port Mapping restriction: When using IP Whitelist authentication, only Dynamic port assignment is supported. Static port mapping is not available in this mode. See Port Mapping for details.
All existing proxy settings, including location, carrier, rotation interval, and hostname type, continue to work as normal regardless of which authentication mode is active.
Available Proxy Plans
Whether you're starting with a single proxy or managing a small fleet, Proxidize’s Per-Proxy plans give you the flexibility to scale at your own pace.
You can begin with just one proxy per month and add more as needed, while maintaining full control over carriers, locations, rotation settings, and proxy formats.
👉 View and purchase your plan here